
Chargemap route tool: 5 little-known features
Following the graphical redesign of the Chargemap mobile application, the route tool also had its own visual refresh. The perfect opportunity to bring back to the forefront a few features that are often little-known and yet so practical. Let’s take a look at the 5 features you need to know to plan the charging breaks of your electric car trips!
1. Add stops to your route
The Chargemap route tool displays all the charging stations along the route. If you are planning to make stopovers, it also includes the possibility of adding waypoints. Simply fill in the address of the stopover location when setting up the route.

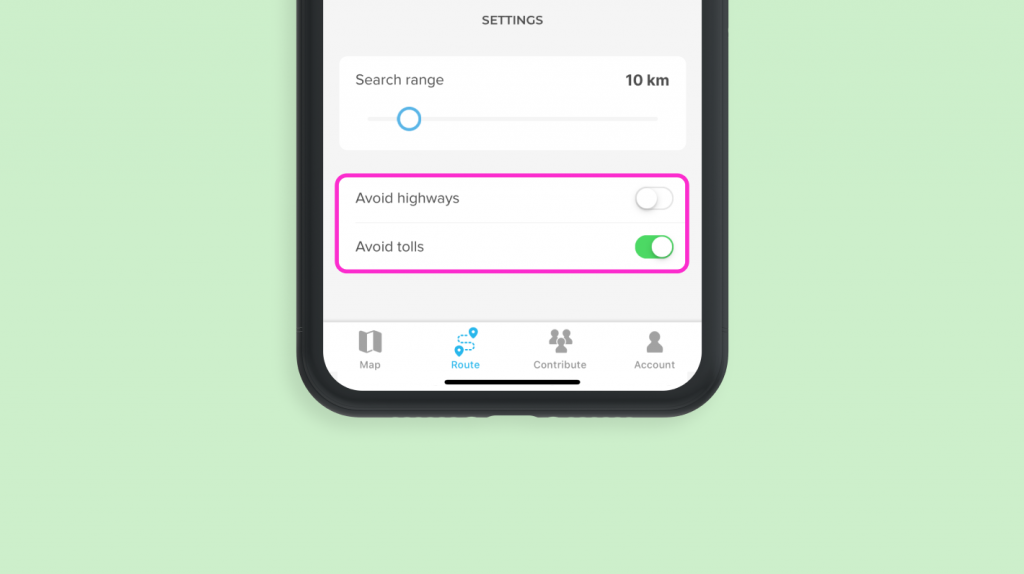
2. Avoid tolls and/or motorways
The tool also offers the option to avoid tolls. A great way to save money and why not use it to pay for your next charges. ?
Similarly, you can choose to avoid the motorway. Here, the range gain will be non-negligible, especially for small capacity batteries.
You will find these options at the very bottom of the route setup screen.
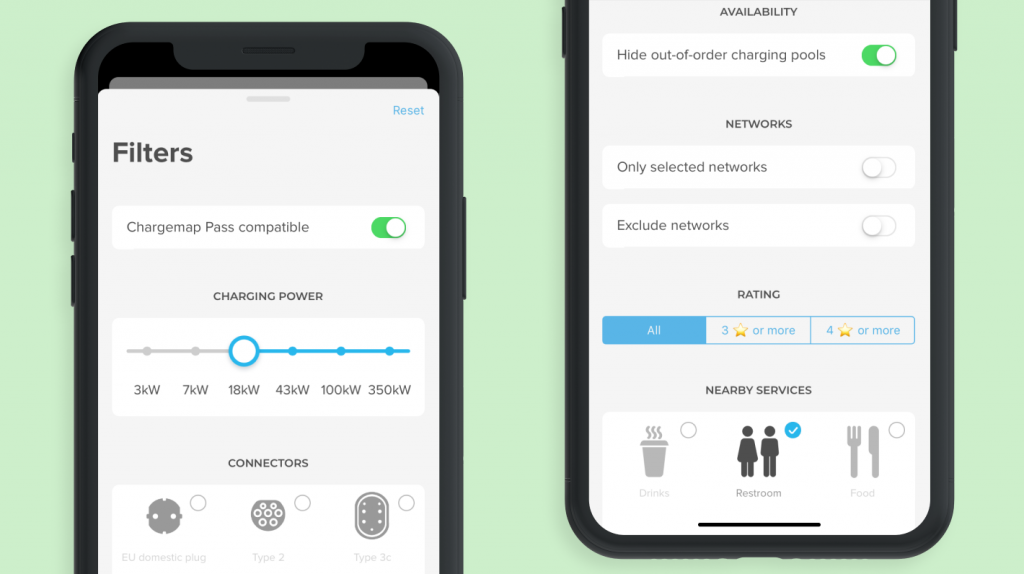
3. Refine your search with filters
Chargemap filters can also be used to ensure that the charging stations displayed match your criteria. The combinations are numerous: filter your search according to charging power, connector types or compatibility with the Chargemap Pass.
For Chargemap Plus subscribers, the advanced filters are particularly useful when travelling. For example, you can hide out-of-service charging pools, avoid one or more networks or display only stations with nearby services to make your breaks more enjoyable.
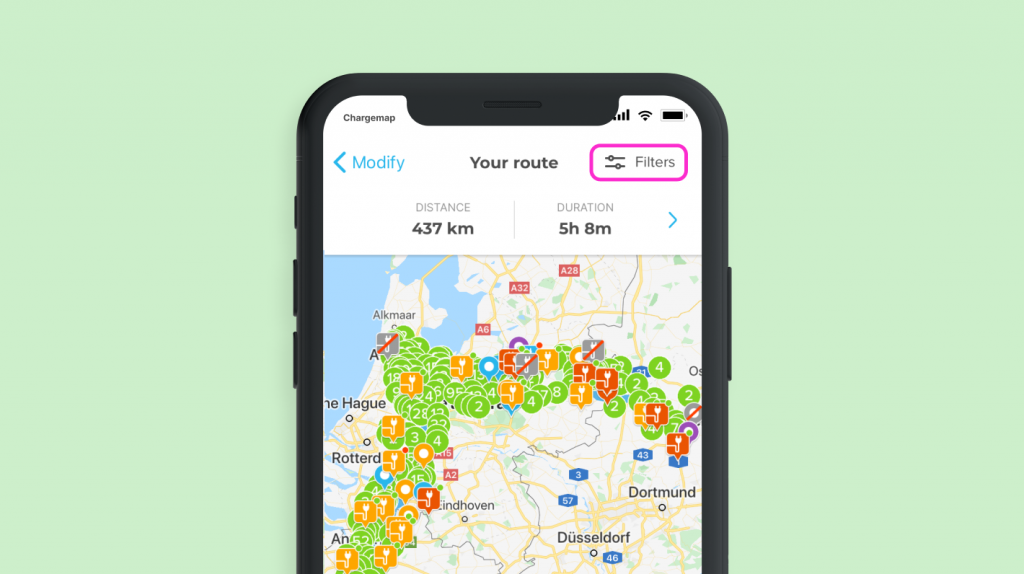
To set up the filters, nothing easier: tap on “Filters” at the top right corner of the route screen.
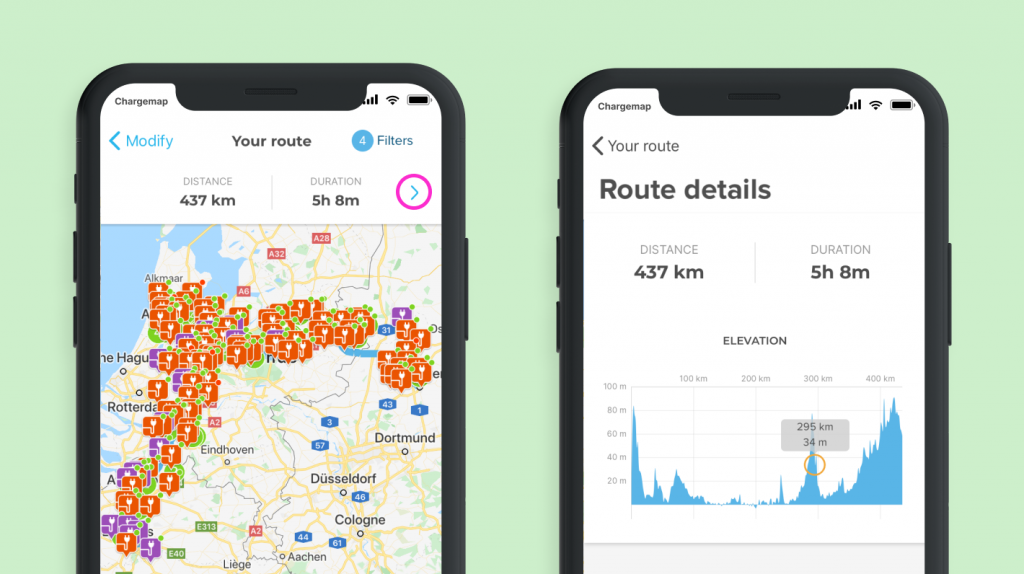
4. View route elevation
The topography of the route, especially the elevation, is an important factor to consider when driving an electric car. Indeed, depending on this parameter, the battery level on arrival will not be the same.
To put it simply, during deceleration or braking phases, the engine switches to “generator” mode, recovers kinetic energy which is then transformed into electricity and stored in the battery.
For example, going to the mountains from the sea will consume much more battery power than the reverse journey. This information will, therefore, help you to better adapt your charging stops.
To see route details, tap the blue arrow next to the distance and time information. You can use the graph to see the elevation level over the entire route.
5. Add selected stations to your favourites
Once you’ve found stations that interest you on your journey, remember them easily by adding them to your favourites. To do this, simply tap on the heart located at the right of the charging pool details sheet.

On D-Day, all you have to do is open your favourites, enter the address(es) of your next charging stop(s) in your GPS and hit the road with complete peace of mind. Note that you can now copy the address or GPS coordinates of a charging zone with one click from the mobile app.
Have a nice trip with Chargemap! ??
And if you still haven’t done so,